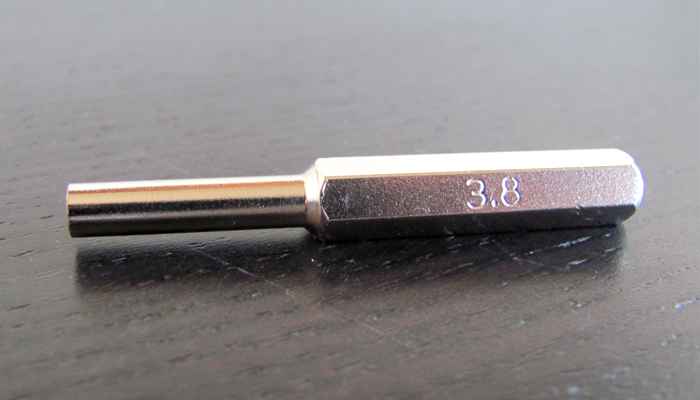
STEP 1 – SCREWDRIVER
Before starting you need some tools and the first thing you should get is a screwdriver, but you’ll need a specific one, the GameBit Screwdriver(affiliate link).
Note: If you don’t want to spend money you can always melt the plastic tip of a pen and press it on the screwdriver. After it cools you’ll be able to remove the screw but be aware that it’s not very durable.
STEP 2 – BATTERIES
Next, you’ll need some CR205 batteries. You can get them at any electronics store but I do not recommend it. I advise you to get them from here (affiliate link). They are cheaper and already come with the metal pieces attached to them like the original batteries, and it also comes with the screwdriver that you’ll need.
STEP 3 – SOLDERING IRON
Now you need to get yourself a soldering iron(affiliate link). You don’t need to spend much on it but don’t go cheap! Also, make sure the tip of the solder is like the one above.
Note/Update: The one in the picture was really bad and the solder would stick to it too much… I then bought the one on the link and have been using it for a long time now with no issues!
STEP 4 – OPENING THE CARTRIDGE
Now that you have all the tools we can start! Grab the screwdriver and remove the screws. Afterward, slide the cover to open the cartridge. DON’T PULL IT!
STEP 5 – REMOVE THE BATTERY
After heating the soldering iron place the tip on the solder and with the help of some tweezers (or something else) lift the battery. Repeat on the other side as well.
Note: Remove the board from the cartridge to avoid burning the plastic! Also for safety reasons you might want to wear some goggles since you’re applying heat near a battery.
STEP 6 – PLACE THE BATTERY
Before placing the battery be aware of its plus and minus side! You can utilize some of the remaining solder if you want to but I advise you to use some of your own to make sure the battery stays in place.
STEP 7 – CLOSE THE CARTRIDGE
After a job well done you can finally close the cartridge, but do not screw it just yet! First, place it on a Gameboy and see if the save function is working! If not repeat steps 5 and 6.
And that’s it! Easy right? You only have to follow these 7 easy steps to bring a new life to your favorite GameBoy game. Hopefully, now you know how to replace the battery of a Pokémon game!


1 Comment